Apologies if I’ve put a corny 60s song in your head.
I was able to devote four nearly full days to the work this past week and although much was done, it wasn’t the kind of work that yields stunning process photography. Nor was my mood the kind that yielded much in the way of philosophic reflection. Sometimes things go slower than you’d like them to and sometimes that’s all there is to it.
Looking back at last week’s post, though, I have to say that we’ve gotten along. When I left Vermont the last time, I’d set up the frame for the first deck and measured out a pile of joists to cut. And that was it.
Today we have all of the joists in place, all of the blocking completed, almost all of the sub-bracing done, and half of the floor decked over. I’ll let the pictures tell the tale this time. As always, click for larger images.
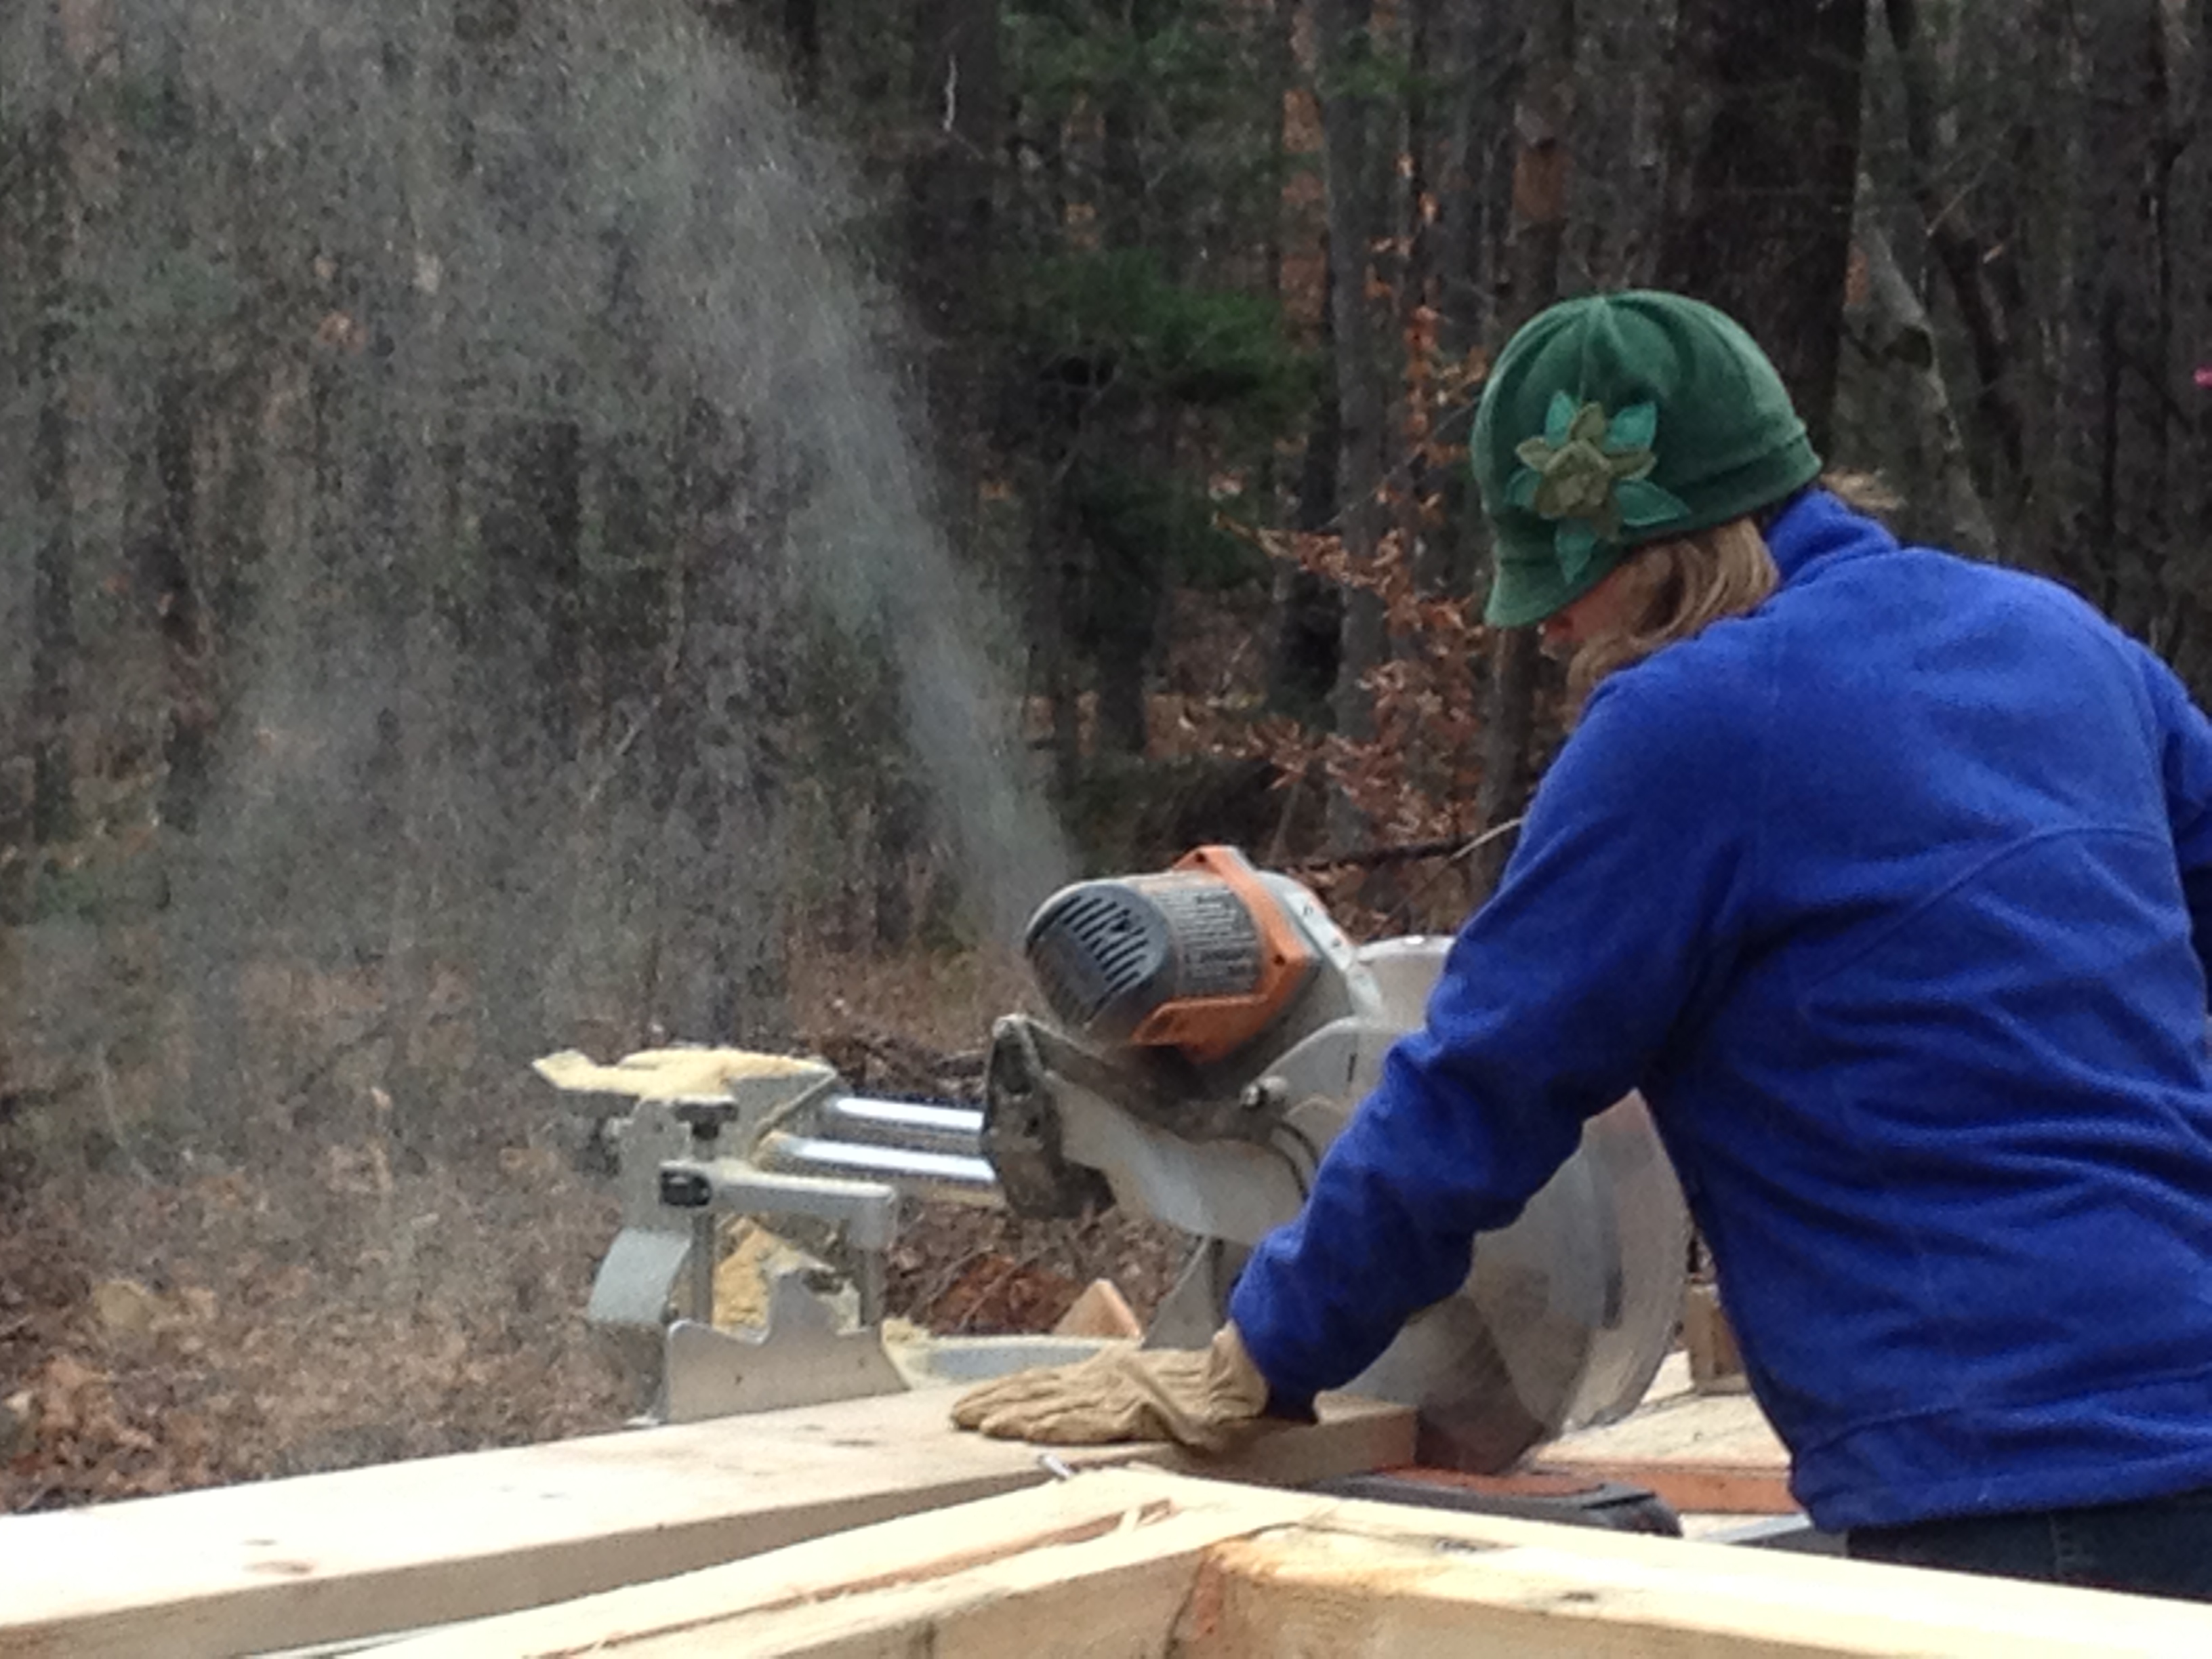
Her, letting ‘er rip. Turns out she’s a great cutmeister — very precise. Also fashionable.

Bedroom bump-out. There’s one like it in the front, also, though about 6 inches shallower.
The framing here is a little unorthodox. Orthodoxy states that for every cantilevered section, the ratio of suspended framing to “buried” framing (that is, wood extending into the principle structure) is 2:1. Here you can see it is 1:1. Why? Two reasons: First, this is a short overhang that will hold no second-level weight. The wall will support only itself, not the second floor nor the principle roof structure. Second, due to the short length there will be little in the way of deflection from the bearing members — the wood won’t bend as much. There are other considerations: the decking will be 2×6 tongue-and-groove planks rather than 3/4″ plywood, which will be stiffer and more structural. Finally, the supporting ends of the cantilever joists are bound to the main joist by 6″ long “timberloc” screws. These things, by the way, are so sweet. Easy to drive, and engineered to be stronger than 1/4″ lag bolts. More on them below.

Blocking in place. These short pieces are made from the same boards as the joists, and keep the joists from twisting or bowing to the side, making the entire deck a single engineered unit — all the pieces work together, strengthening one another and compounding the overall strength of the structure.

Main deck, fully framed. The plywood areas are the bathroom and the entryway, where there will eventually be tile.

After a final check for square, I went back under and placed supporting members for our posts. These will keep the whole thing from wobbling. Again, 6″ timberlocks are binding these to the posts and to the framing. Jamie and I agree that these are aesthetically pleasing, too.

Centerpost.
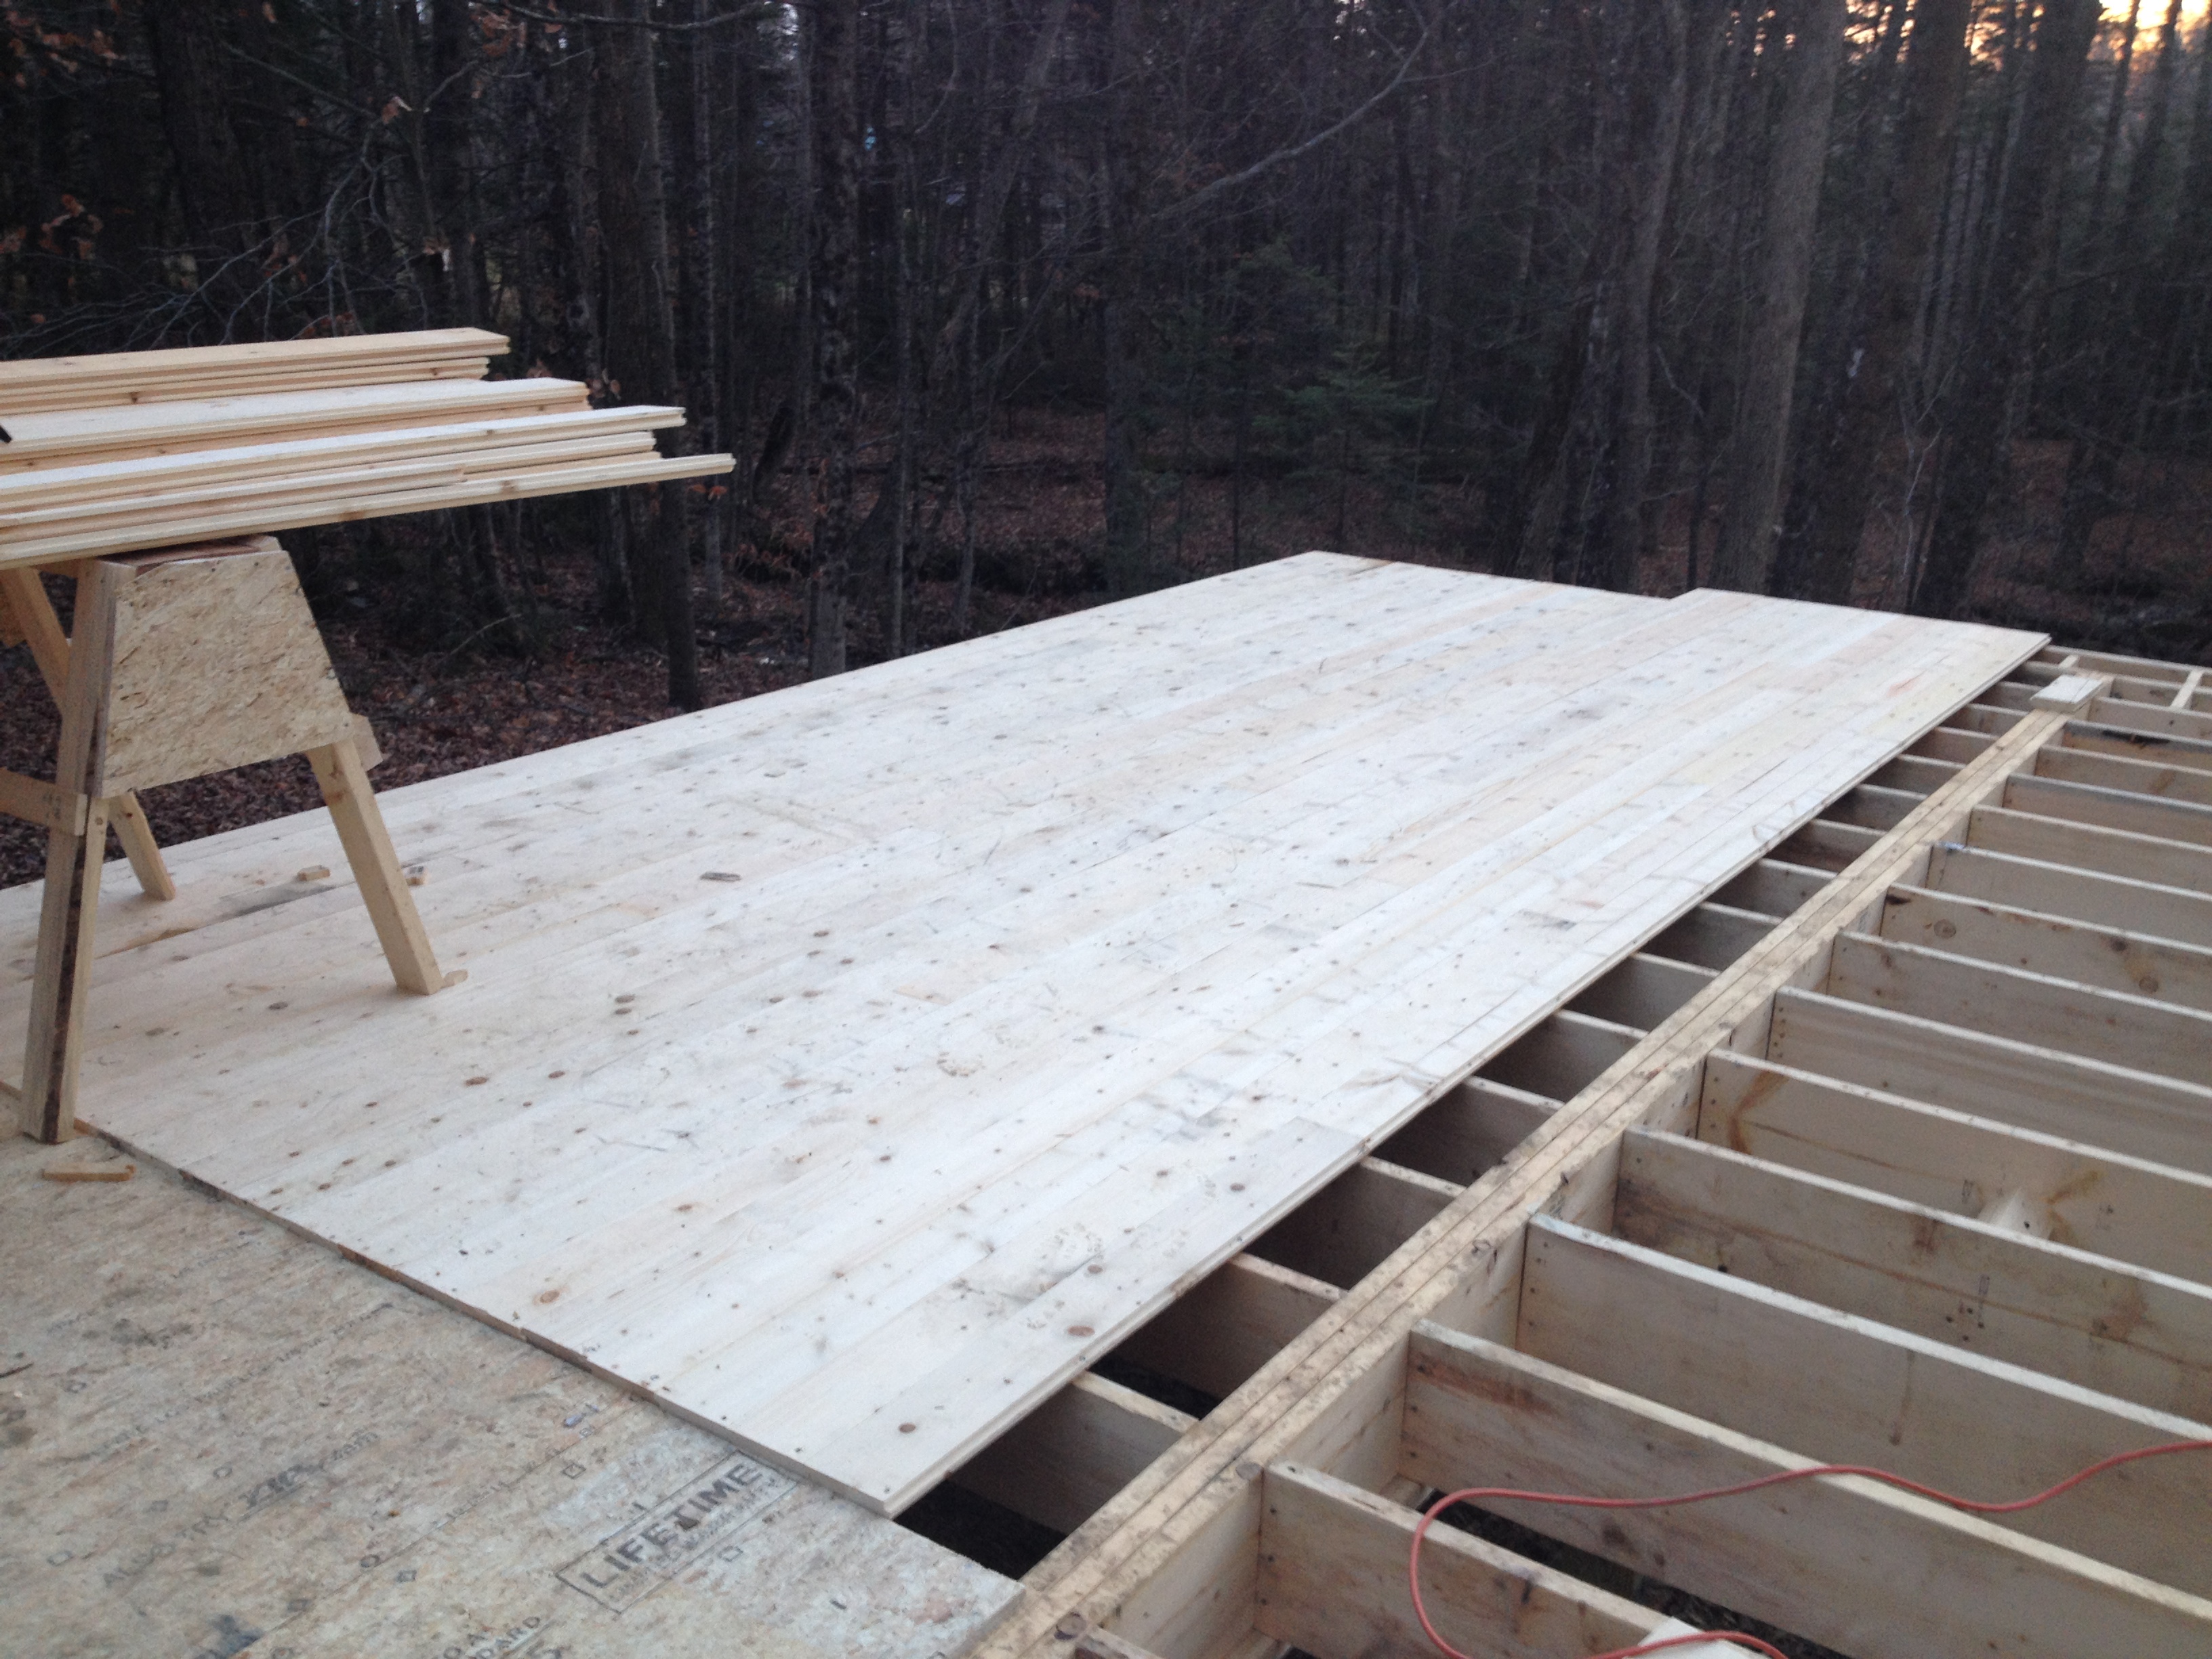
The floor, and the sub-floor.
Typically, a floor is laid by putting down sheets of sub-flooring: 3/4″ plywood, usually a chipped-wood product the best version of which goes by the trade name Advantec. It’s by a Maine company called Pingree Forest Products and it’s great stuff. That goes down first, then when you’re ready to finish the interior of the house (usually the last thing, actually) you lay flooring of some kind over it.
I wanted to do something a little different. It is going much slower than I hoped, but it will save a step and much money later on. I’ve decided to use 2×6 tongue-and-groove planks for the subfloor. That 1 1/2″ thickness is the full thickness of a finished floor system. It will make a very strong floor — especially nailed and glued down — and when we’re ready we’ll just sand it and coat it and have a finished floor. It’s taking a helluva long time to lay in, though, since it isn’t really designed with that level of finish in mind it isn’t sawn to the same accuracy and getting it all tight together is a PITA. I’m using long clamps, and wedges, and hand-nailing a lot of it. I have faith that it’s going to look good though, having seen it on another project. The bonus comes when we do the loft space — stay tuned for that.

Another view.

Nearly last light on Wednesday. The advantec will weather rain and snow like nobody’s business. The 2x6s require a little more care. After snapping this shot I ran down to the lumber yard for some 6 mil plastic sheeting and covered over the deck. Keeping the stock and installed wood dry will help resist curling, cupping, and swelling/shrinking cycles until we get a roof over it.
On Saturday, I woke to frozen ground. On Monday, we drove down the valley for some coffee and…

That would be snow. It didn’t last until Tuesday, but here it is. A winter hasn’t gone by since 2004 when I haven’t said at some point, “Man, I’m really glad I’m not working as a carpenter anymore.” I can tell you this: whacking your thumb with a framing hammer hurts just an eensy bit more in the cold.
While I was working frantically on Wednesday, trying to get a bit more done before wrapping everything in plastic before Thursday’s rain, a Green Mountain Power line truck pulled in the drive, looked round, and left. I don’t know but they might’ve been laughing at me. They can — I’m looking forward to power and no generator. My neighbors probably are, too.

I love that song. 🙂
LikeLike
Damn guys, that is really looking good. I’m loving the details. The bumpouts and bracing give it so much more character than originally planned. Think about how the plan has been shaped by the factors beyond your control- and how the end product is better as a result. Wood posts and bracing are way more pleasing than exposed concrete piers. This is building at its finest- a result that is both different and better than what you first set out to accomplish. It probably seems premature to heap this praise on the project at such an early phase, but I have a good feeling about this one. Congrats.
LikeLike
High praise, Donn. Thank you.
LikeLike